Victron Multiplus 3000 Van Conversion Installation
This is Part One of the installation and testing of the Victron Multiplus 3000 Inverter/Charger into my Cargo Van Conversion.
Multiplus 3000
Up till now I have operated the van without an inverter and several appliances went unused (ic. water heater and induction cooktop). Just being able to use the cooktop will make a major difference while living in the van.
(Un)fortunately, the charger part of the Multiplus will only be used infrequently, as I don’t intend to visit campgrounds regularly. Most of my van living will consist of dispersed camping (boondocking).
I stuck to this model mainly because I designed the van around it and the space available for it, is quite limited.
I first had to remove several previously installed 12V components to gain full access to its location.
Victron uses a ‘french cleat’ system, to hang the inverter to the wall, while leaving enough space around it for ventilation. And the first step is to attach the supplied metal ‘cleat’ to the back wall.
As this inverter’s weight reaches ~40lbs, placement in such a small place is somewhat of a challenge, so I use a small board to slide it in place and lift it onto the ‘cleat’.
A couple of screws at the bottom of the inverter, secure the Multiplus to the wall.
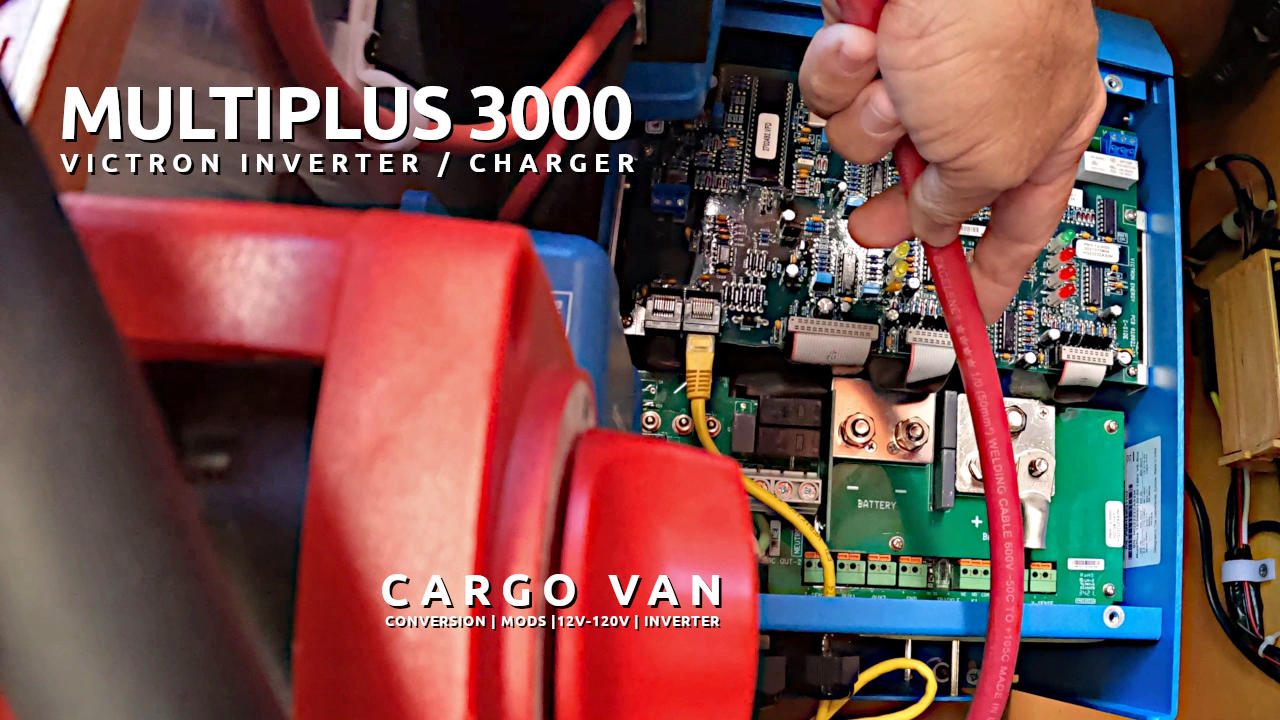
When I remove the front plate, the points of interest are the two RJ-45 ports at the center-left area of the case, the ACin and ACout at the bottom-left and the positive and negative 12V points at the lower-central part of the inverter.
There are some dongles at the top-left and you may have to buy a separate Victron VEBus dongle to change some internal settings. I bought my Multiplus at lightharvestsolar.com and they advised me that no settings needed to be changed with my 12V setup. The main exception for that, is the 15A, 30A or 50A ACin setting, which can be set in the Bluetooth phone app.
Bluetooth Dongle
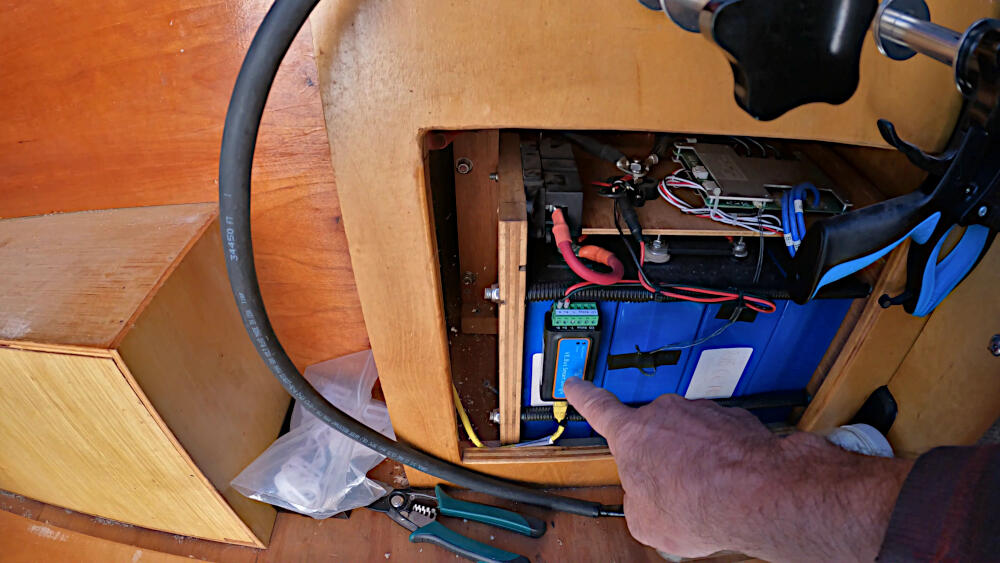
First I take care of the Bluetooth dongle. It has some sticky tape for attachment to the side of the batteries and a wire to the batteries as power source. Then we use a RJ-45 cable, connect it to the inverter.
120V AC Cables
For the unlikely situation that I need to connect the inverter to an exterior source for 120V, I had previously installed an exterior 120V plug below the driver’s door. Now I have to link this with a 120V cable which traverses the van, ending up at the inverter. Now it’s time to secure it to the Multiplus. I attach the ACout cable in a similar way.
12V Cables
Next are the 12V cables between the inverter and the Lithium batteries. [link] A 4/0 pos and neg cable are suggested, but I use the alternative by doubling up two 1/0 cables each. The black cables go directly to the battery busbars, the red pass through a 400A mega fuse.
Grounding
On my system, I also connect a previously added chassis grounding cable to a ground connection at the bottom of the inverter.
Next week Part Two of the installation.
Tools & Materials
- Victron Multiplus 3000
- Victron VE Bus Smart Dongle
- Wire Cutter
- Wire Clamps
- 400A Fuse/Holder
- 1/0 Lugs
- 1/0 Wire
- Hydraulic Crimper
- Heat Gun
- Victron DC-DC Converter
- Victron Smart Solar Controller
- Induction Cooktop
*Some of the links above and in the video, are affiliate links, meaning at no additional cost to you, I will earn a small commission if you click through and make a purchase.


